Let's Add Products to Your Product List
Step-by-step
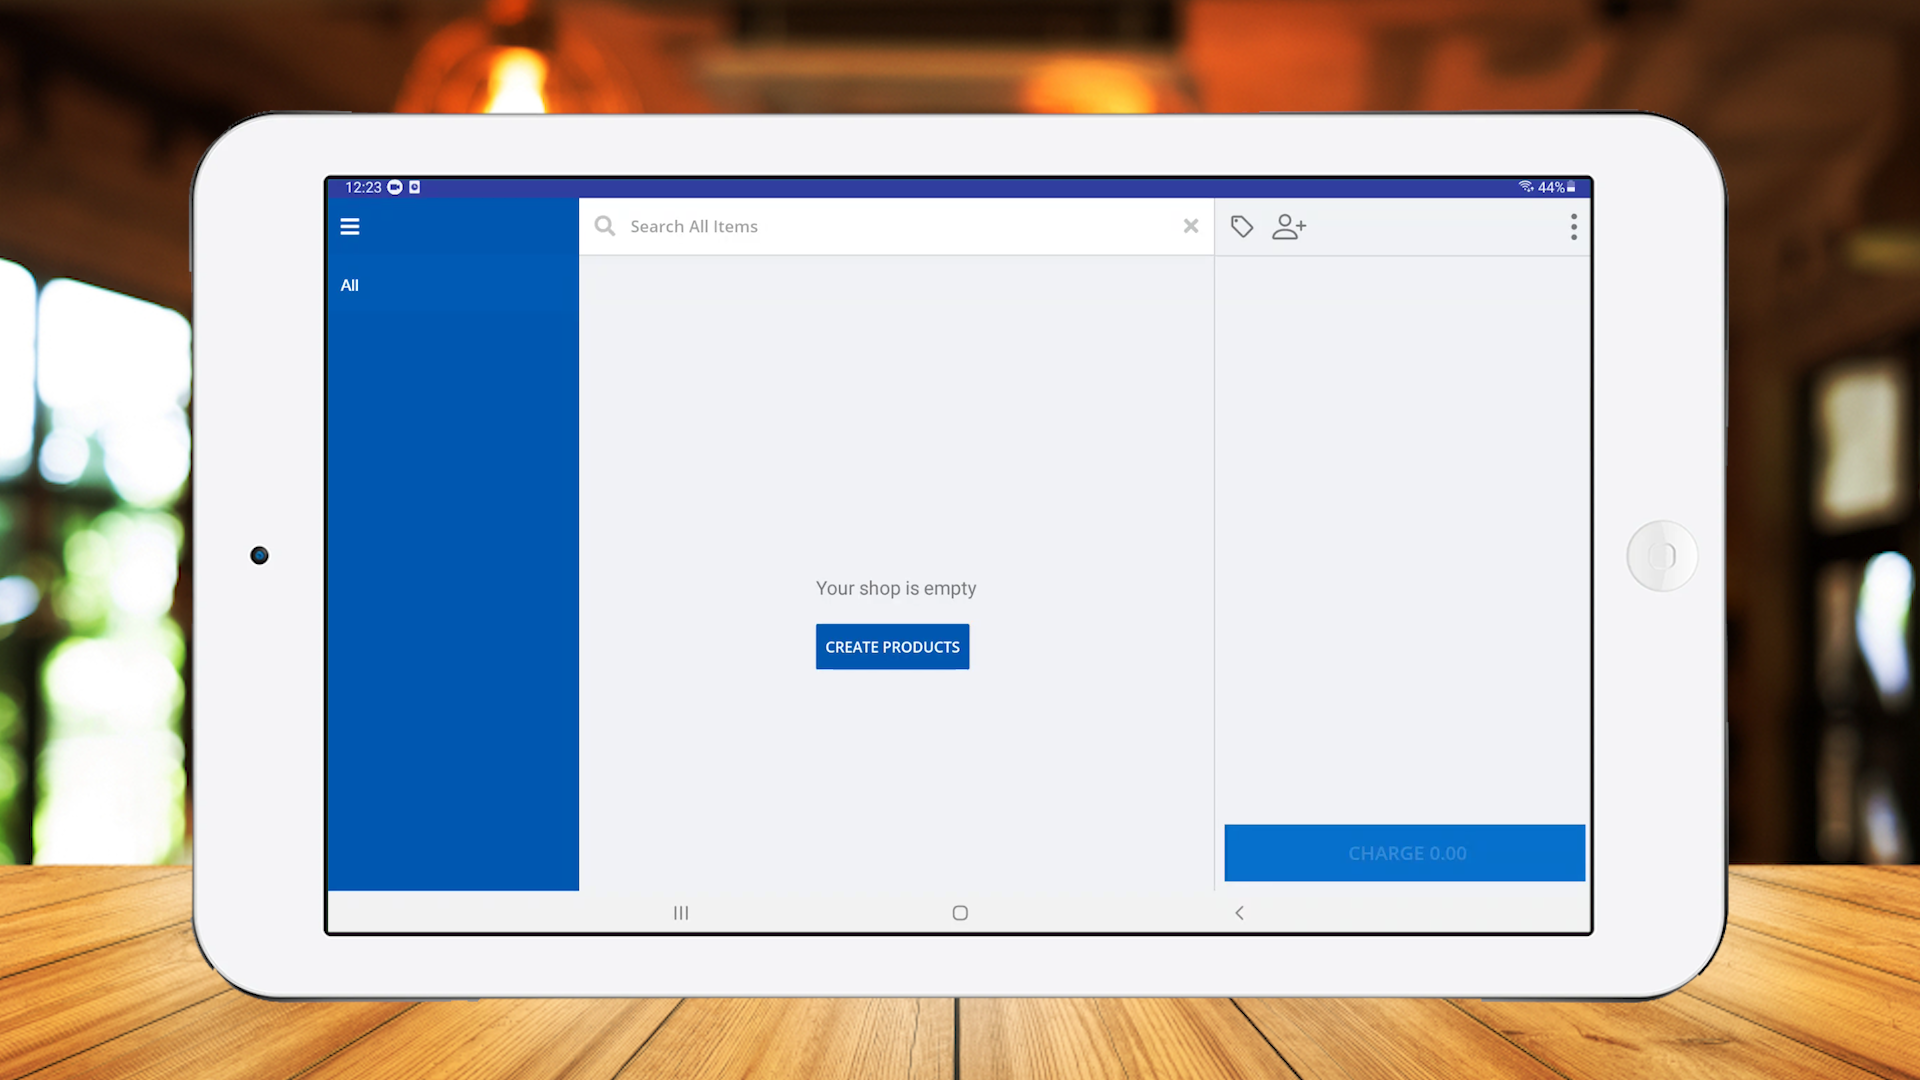
- After successfully signing in to your account, you can add products to the product list via Vendtill POS App. Click 'CREATE PRODUCTS'.
- Afterwards, when you need to create a new product, click the menu button (≡) at the top left corner, select 'Products' and click the plus button.
Add Product details

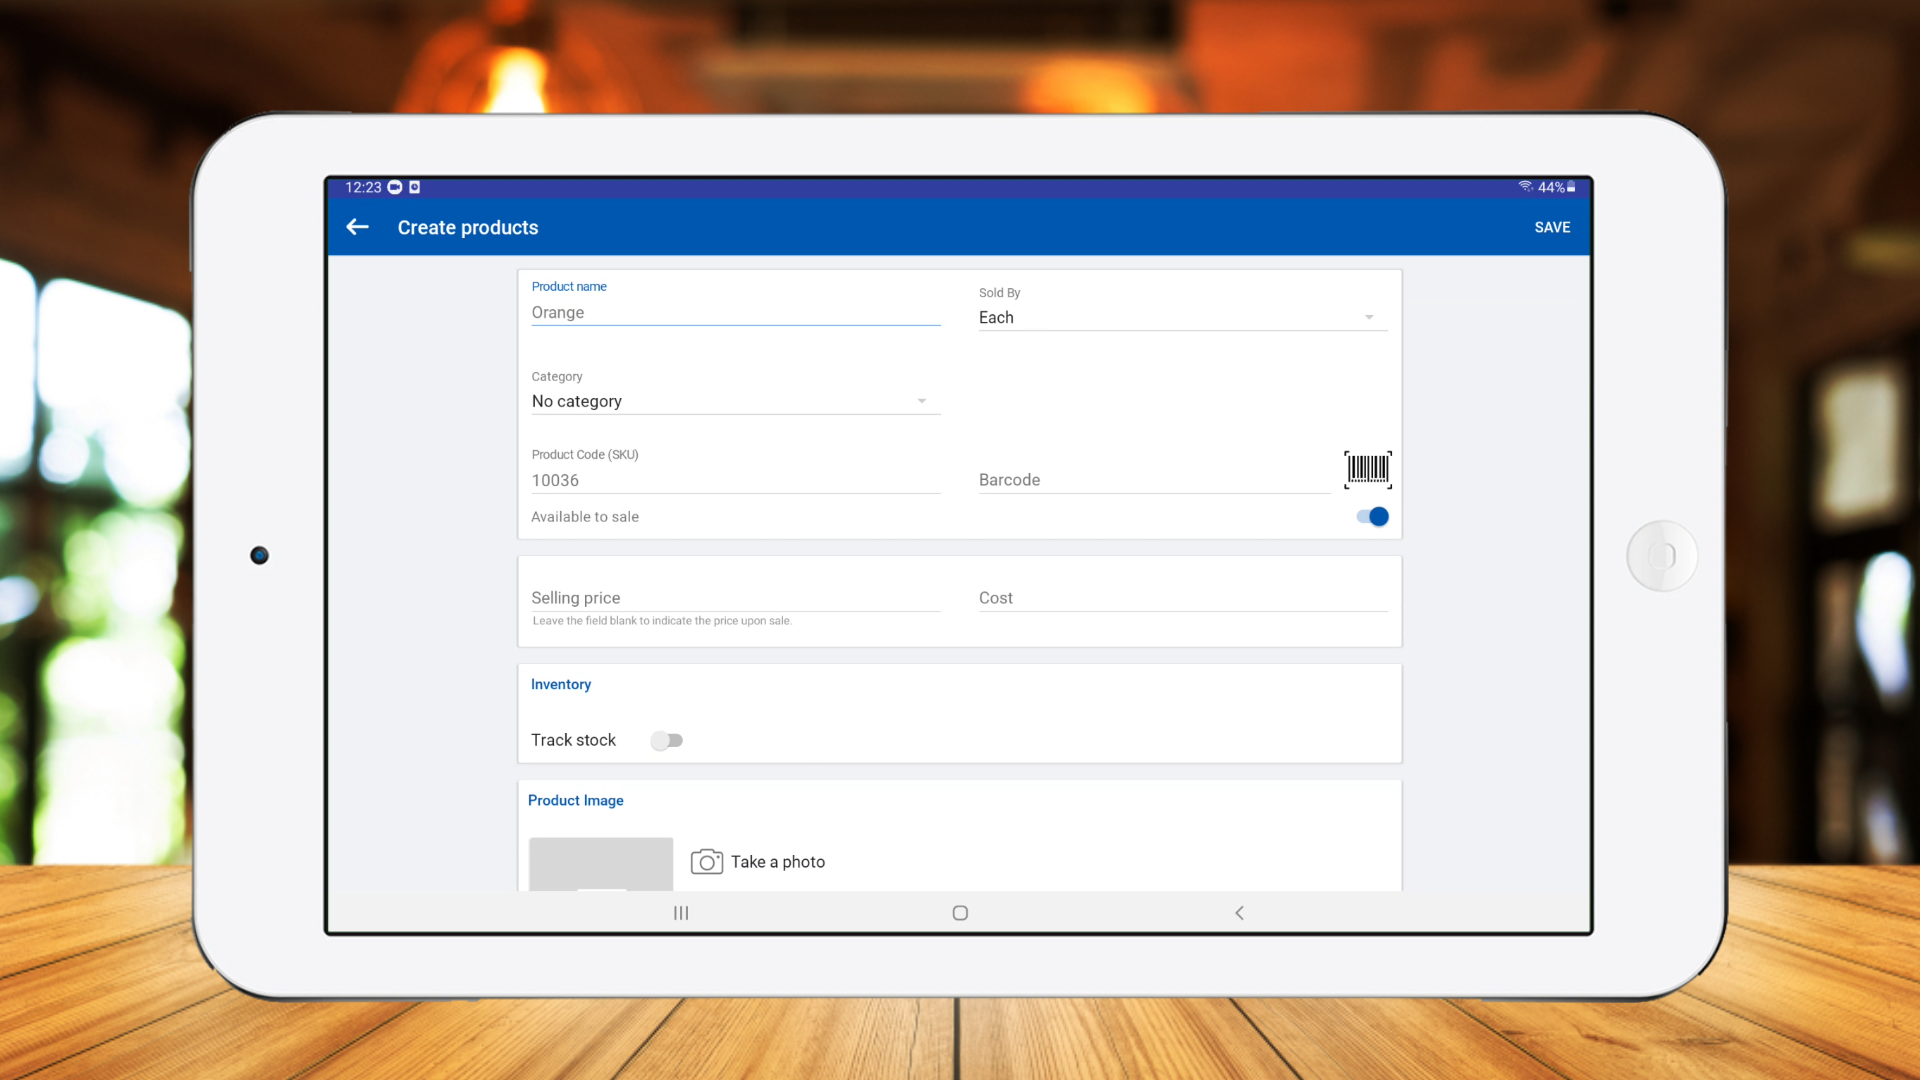
- Add product name and selling price.
Upload product image
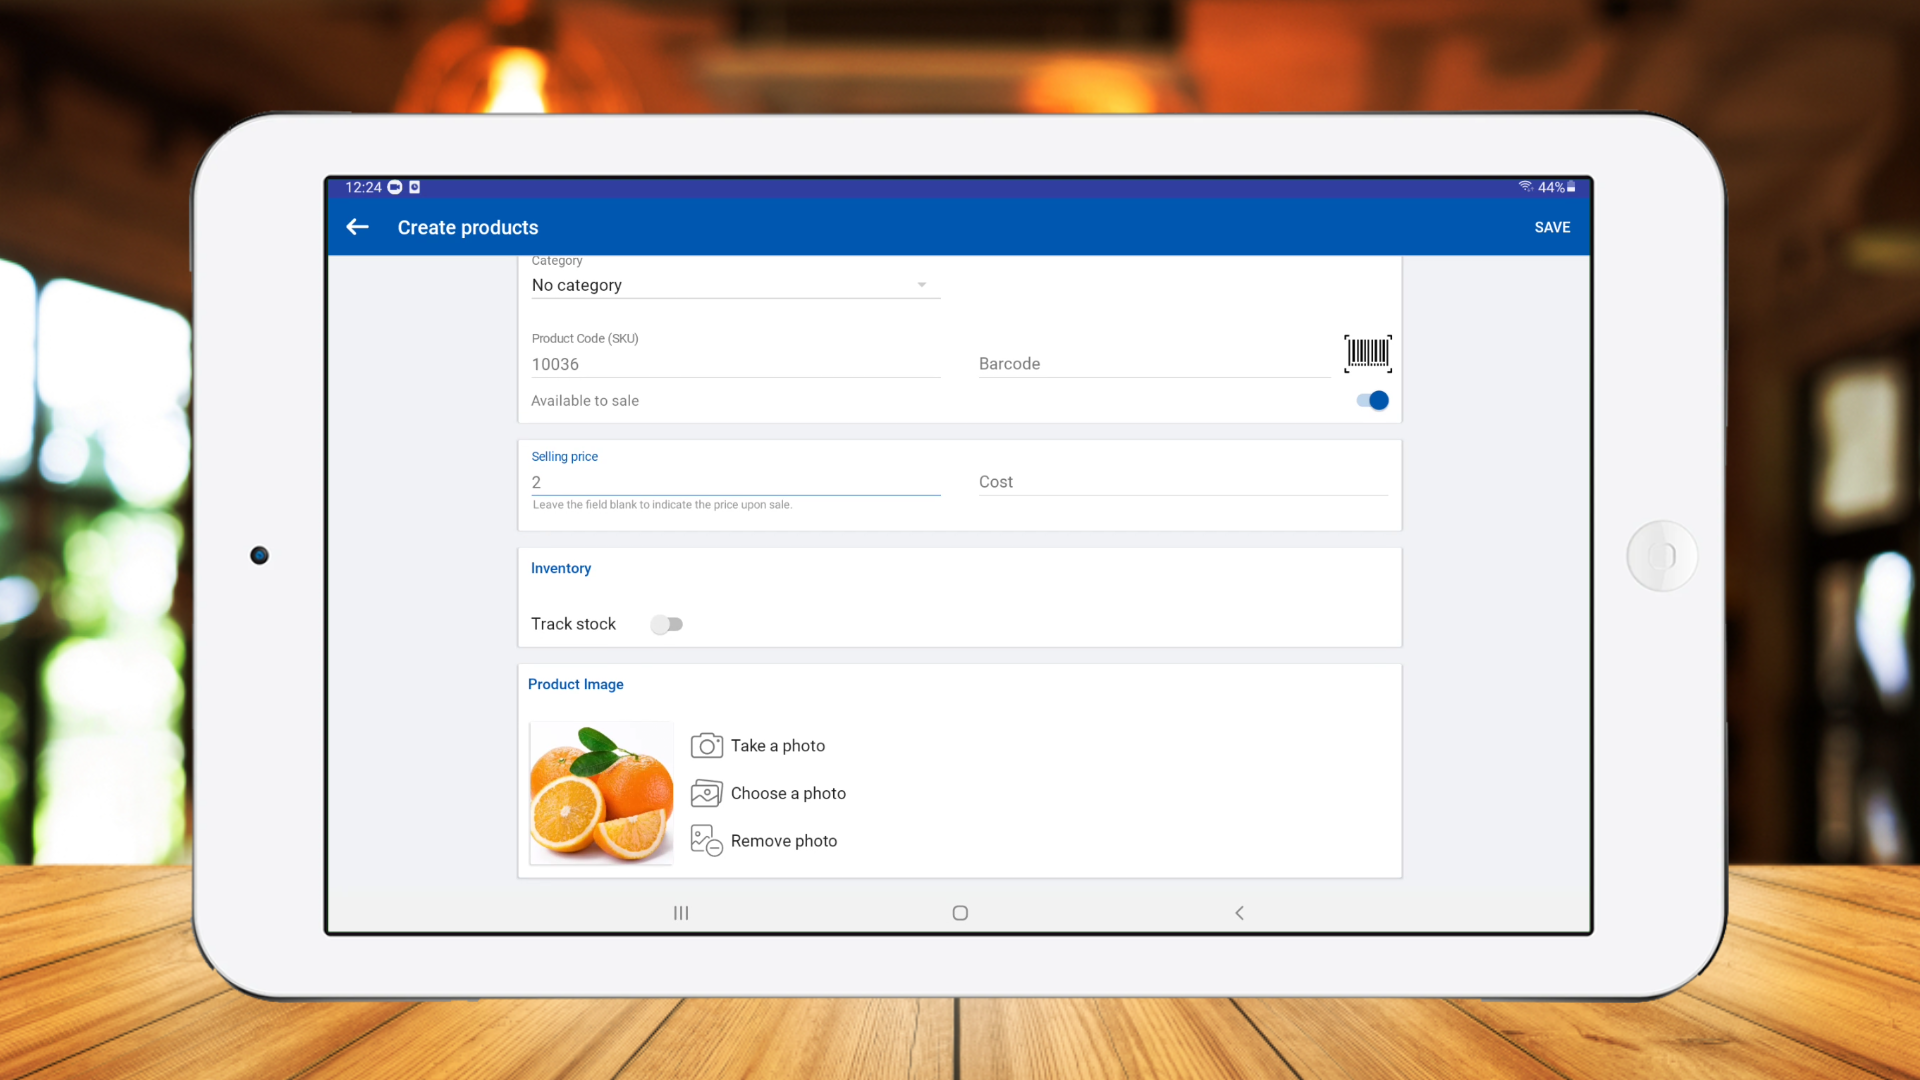
- Upload an image from your files and click 'SAVE'.
View product list
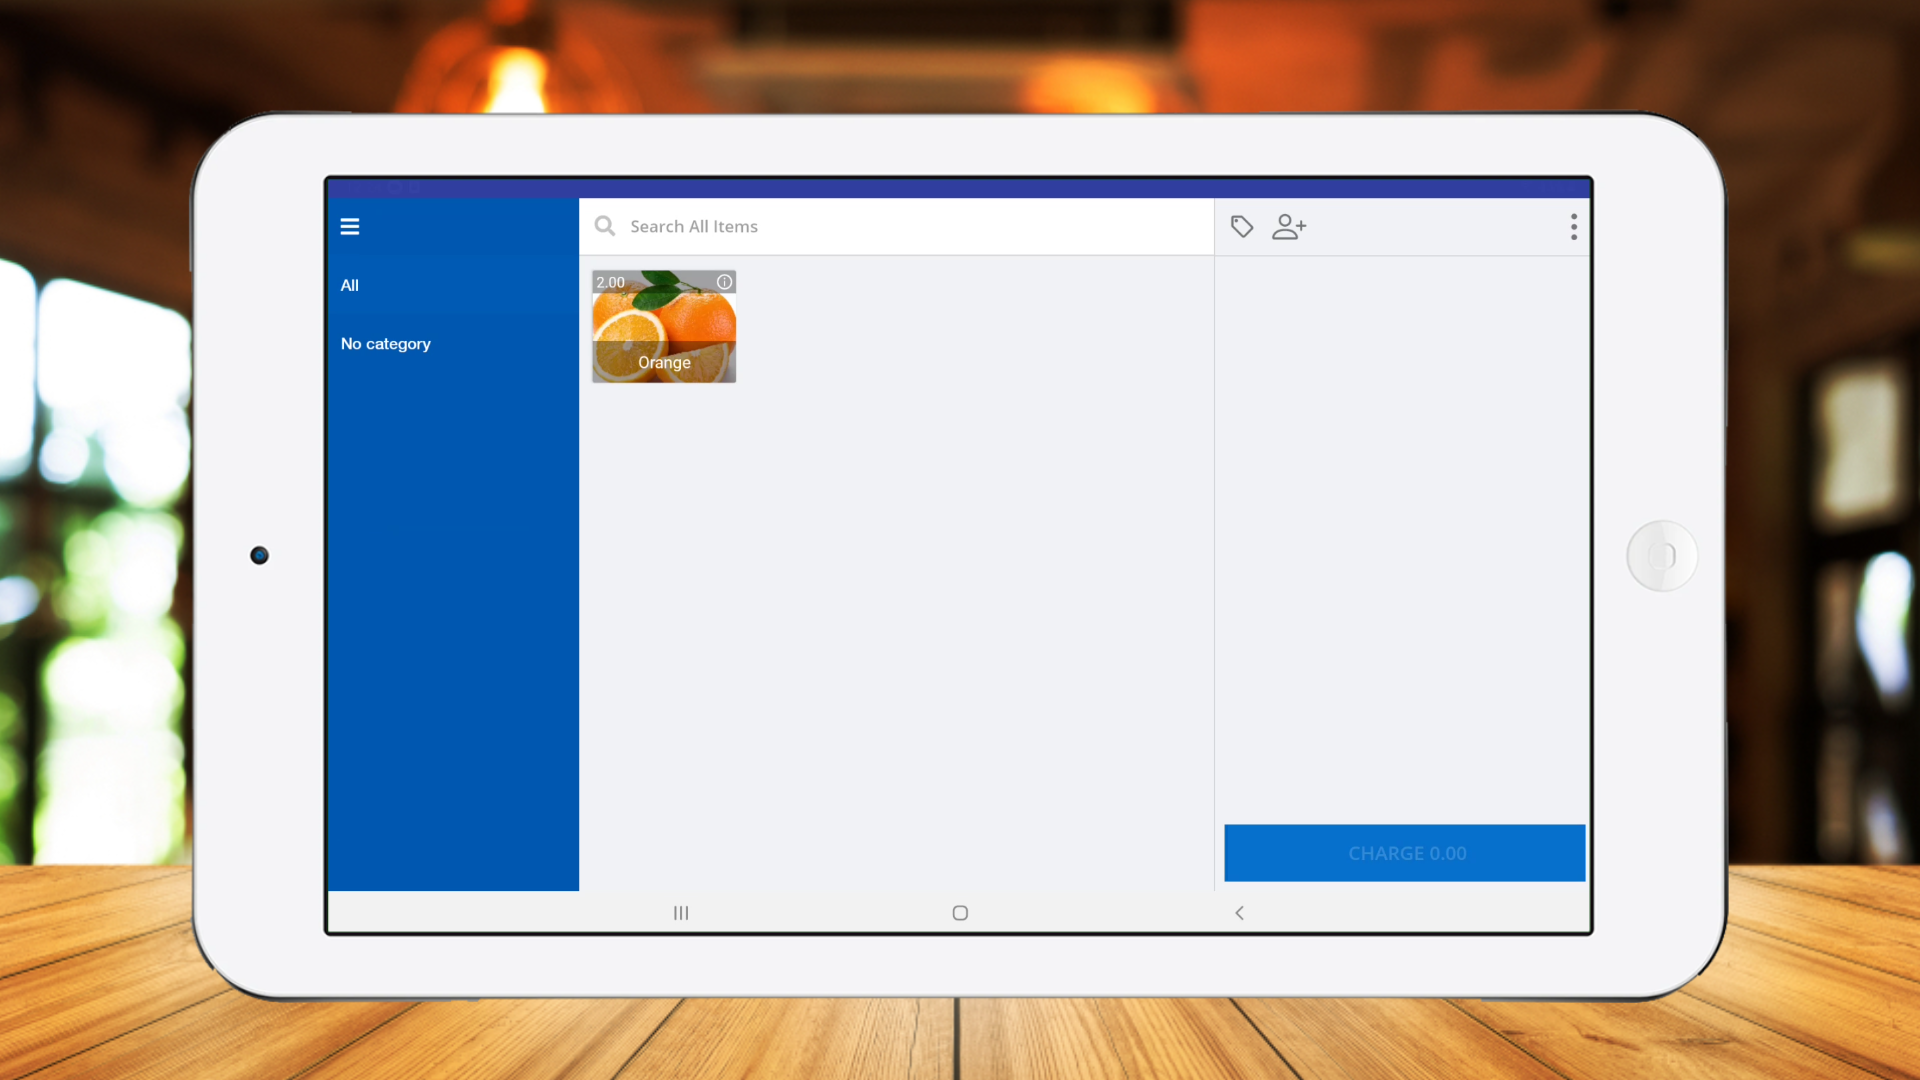
- Select 'New sale' and you will see the product appear on the screen.
Product List Navigation
- You can enter the page list number, and the POS system Back Office will display the corresponding page of the product list. This functionality is especially useful as it helps users quickly find and edit the desired products.
01) Login to POS Back Office Webportal.
02) Select “ Products” from main menu.
03) Go to the “Products List”.
04) Go to the bottom of the product list.
05) Enter the page number near “Page” section.
06) Click the “Enter” button on the keyboard
Sort Products in Back Office
- Vendtill allows you sort the product list based on alphabetical order, date created and the CODE. Available sorting methods are Product Name, Category, Recently Created and Product Code.
01) Login to POS Back Office Webportal.
02) Select “ Products” from main menu.
03) Go to the “Products List”.
04) Click on the “Sort By” dropdown menu4
05) Select a method
(Once a sort option is selected, it will be saved even after the logouts)
Related Articles
How to Add a Product Description
How to Add a Product Description Vendtill Back Office Product Description A product description gives you more information about the product. This extra info might tell you how the product was made and what it's made from. You can see these ...How to Delete Item(s) from Product Cart
1. Add Products to the Cart Click on a product to add it to the cart. To check product information during checkout, tap the Info icon (top-right in Grid layout or right corner in List layout). Tips for finding products quickly: Use Categories on the ...Let's Create Categories and Sub Categories and Assign Products
1. Go to POS app main menu and select products 2. Select ‘Products’ and click the plus button to create a product. 3. First enter the name of the product 4. Enter the ‘Selling price’ 5. Upload an image You can add an image of the product which helps ...How to Add Products to the Favorite Category
Favorite Product Feature Step-by-step guide Favorite product feature with a customizable product position. The Favorite Products feature in the Vendtill POS App is available only in portrait mode. If you're using landscape mode, you can access a ...How To Make Sales And View Past Receipts
How To Make Sales And View Past Receipts Vendtill POS App > 'START NEW SALE' 1. As your product list is ready, now let's move to make sales. You can simply click on the product to add it to the cart. If you need to check the product's information ...